How To Setup Your First Twitch Stream
Created by Joe PetrakovichYou’d like to start streaming on Twitch but aren’t sure where to begin? This guide will walk you through the steps from complete noob to first time streamer - live!
Oh - I also made a video version of this guide if you prefer that sorta thing…
- Sign up for a Twitch account
- Download and install OBS Studio
- Launch OBS and run the auto-configuration wizard
- Set your stream’s basic information
- Set up a scene
- Press the Start Streaming button to go live!
Sign up for a Twitch account
If you don’t already have an account with Twitch, now is the time to make one.
Head on over to https://twitch.tv/ and hit the purple “Sign Up” button at the top.

Download and install OBS Studio
If you want to live stream, you have to use some software to put together the actual video scene that your viewers will see, and that will communicate with the various streaming services (Twitch, YouTube, Facebook, etc.).
There are a handful of applications that will work, but we are going to use the one called OBS (Open Broadcaster Software). It’s free, and it is the app that most streamers currently use. It’s not perfect, but it gets the job done.
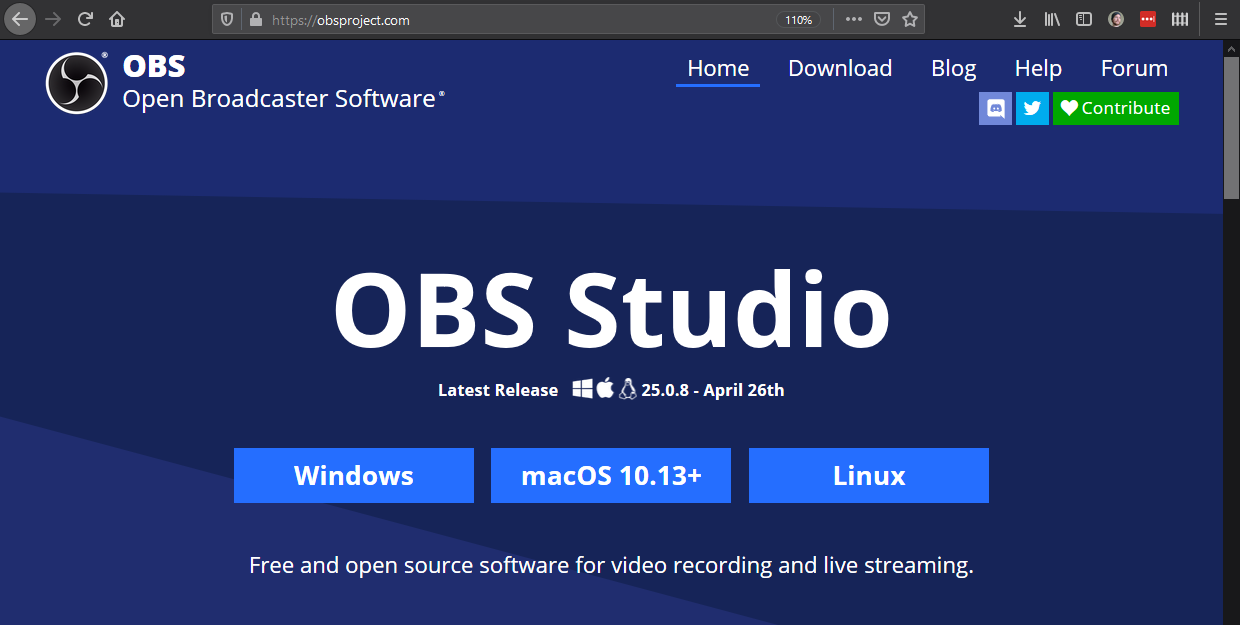
Visit https://obsproject.com/ and download the version for your computer’s operating system.
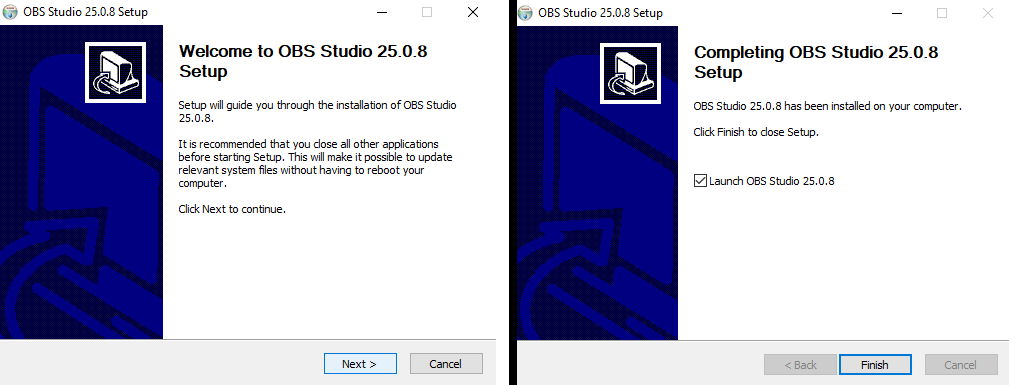
Once downloaded, run the installer and allow it to complete. Most likely you can just keep clicking the next button, since the default values should be fine.
Launch OBS and run the auto-configuration wizard
Once installed, you can launch OBS.
This may be different on Mac or Linux, but there should be an option to run an auto-configuration wizard. On Windows, it will pop-up the first time you open OBS.
You might also see a pop-up about a new version update. Go ahead and run that update first if it happens.
If you don’t get automatically prompted to run the auto-configuration wizard, you can also run it manually from the Tools menu at the top of the application window.
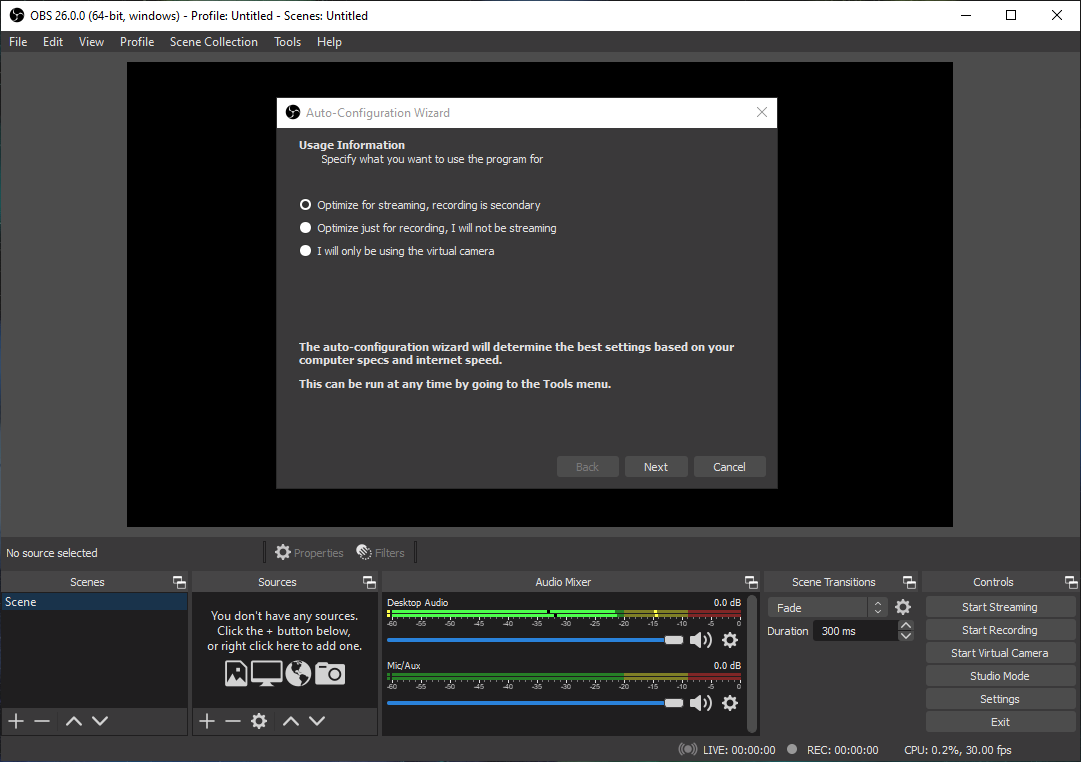
Running this wizard will automatically configure OBS based on what it determines are the best settings for your computer and internet connection.
Just like with the installer, it should be safe to just keep clicking next and accepting the default values on the auto-configuration wizard.
The one that will require input is the page where you will connect your Twitch account.
Click the Connect button and enter the same login credentials that you used when you set up your Twitch account back in Step 1.

Once you make it through to the end, OBS will show you the settings it found to be optimal. Go ahead and click the button to apply them.
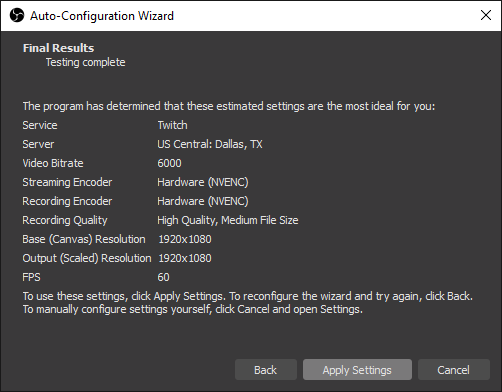
After applying the settings, OBS should adjust itself accordingly.
Set your stream’s basic information
Since the wizard optimized OBS for streaming, the stream information and stream chat docks should open up, allowing you to enter some basic info about your first stream, and to chat with your viewers.
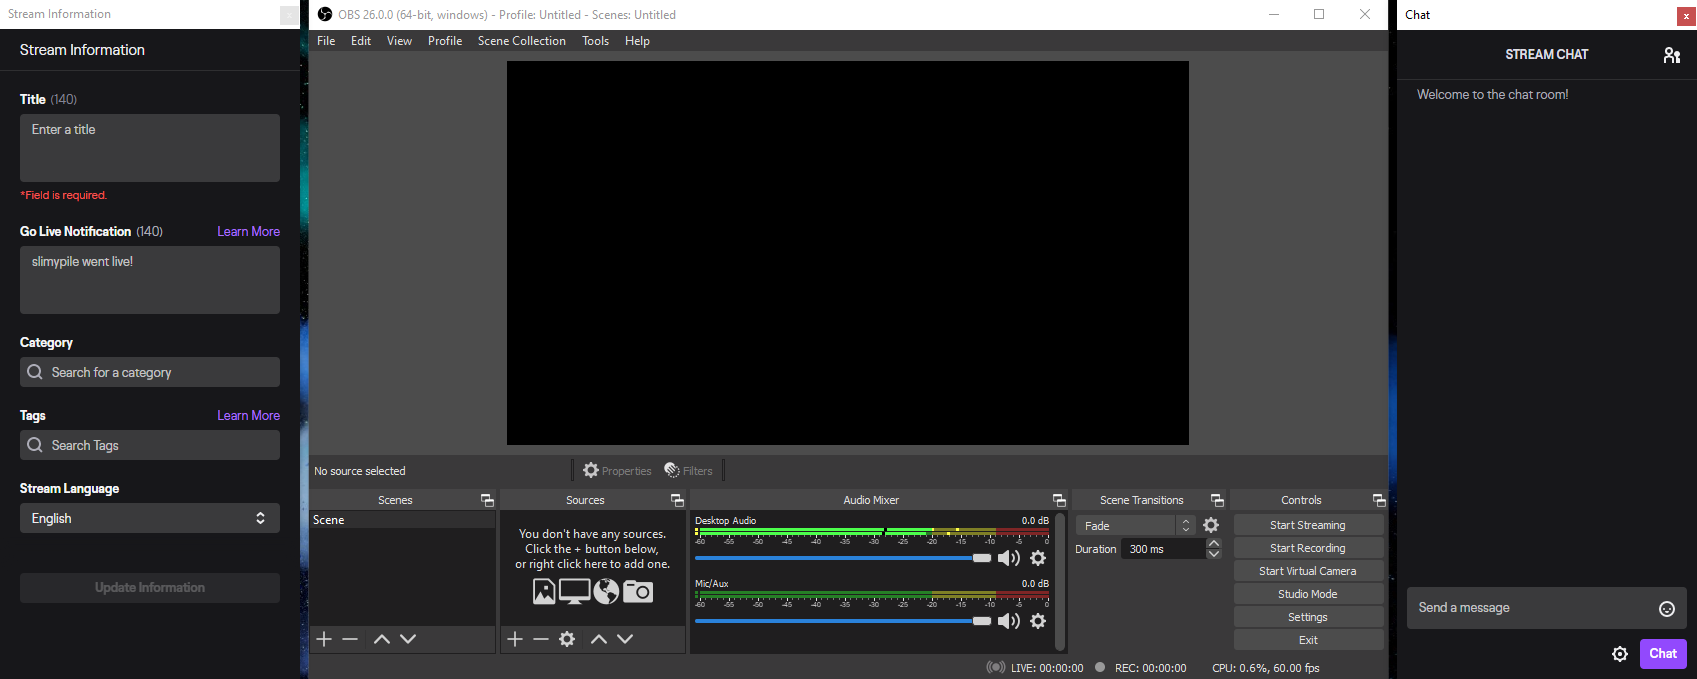
Every time you start a new stream you’ll want to update the stream information and click the Update Information button. This information is what is displayed on Twitch and to your viewers.
At the very least, set a title and the relevant category. A common category is Just Chatting, if you don’t have anything specific.
If you have followers, they may get a notification on their phones that displays this info, so make sure it’s accurate!
Set up a scene
OK - Now that you’ve got OBS configured and your stream info is set, it’s time to set up the content that your viewers will see.
Bring your attention to the bottom of the main OBS window.
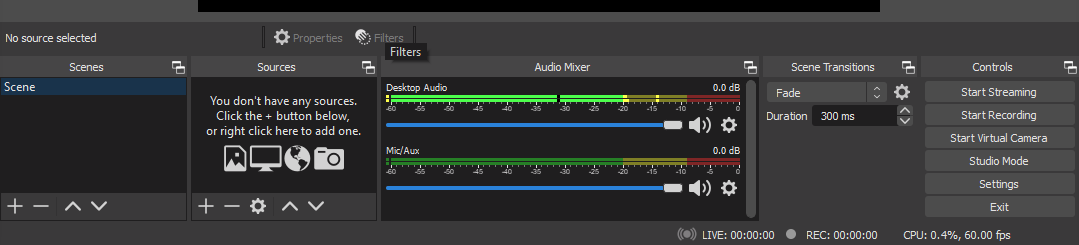
From left to right we have the Scenes list, the Sources list, the Audio Mixer, Scene Transitions, and main Controls.
For the purposes of setting up your first stream, you should only need to worry about the Sources list.
The Sources in OBS are the various things you may want to put on your stream. Things like your webcam feed, your desktop, and your microphone for your voice are all sources that you can add, although there are a lot more.
For your first stream, let’s keep it simple and use only two sources - a camera and a microphone.
Add your webcam or desktop display
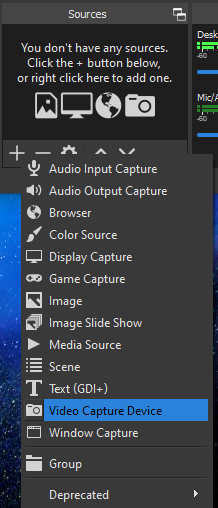
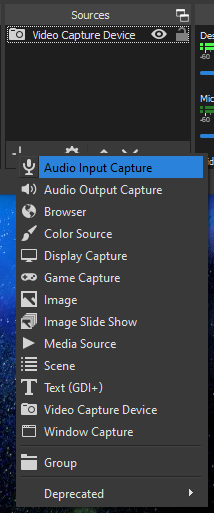
Go ahead and click the plus sign (+) button on the Sources list box and choose Video Capture Device.
From there, a window will open allowing you to name your device or select one you’ve setup before.
After naming it and clicking OK, a second window should open that will allow you to pick from a list of the cameras connected to your computer. Make sure you’ve got your webcam plugged in!
On my computer, I set it to a device called SparkoCam Video - a nifty utility app that lets me use my DSLR Camera as a webcam.
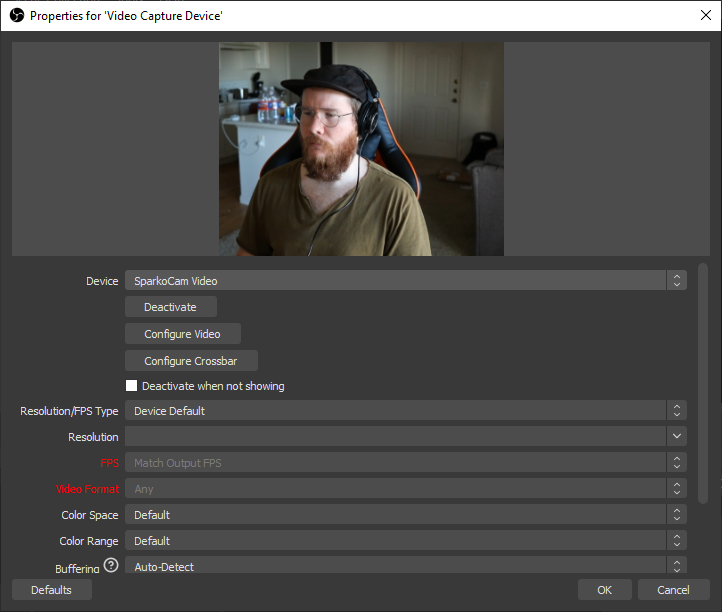
Once again, you should be able to use the defaults here and select OK to confirm.
Once confirmed, you should see the camera displayed somewhere in the black box on the main OBS window. You can drag it around, or right-click it, go to Transform, and select Fit to screen to make it full-screen.
Everything in the black box (including the black space itself) is what your viewers will see.
If you don’t have a camera, you’re welcome to use a different source like Window Capture, Display Capture, or Game Capture to stream the contents of your desktop.
Add your microphone
Next, let’s add a microphone so your viewers can hear you talk.
From the same Sources list, select the Audio Input Capture source. This one is much simpler than the other. Just select your microphone from the list and select OK.
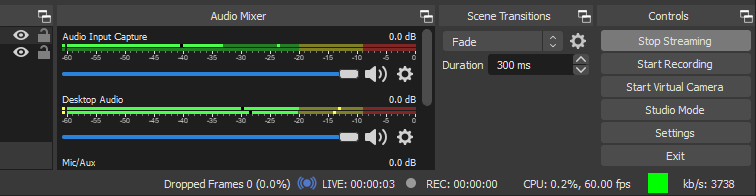
You should see the newly added device in the Audio Mixer, and if it’s working correctly, the green bar should be dancing along with the sound of your voice.
Pro Tip: The lower Desktop Audio item in the Audio Mixer is usually there by default, but it is most likely not actually something your viewers can hear.
Mine is dancing green because I’m listening to music, but unless I explicitly add a source to capture it, my viewers won’t hear it.
Kind of confusing, right? I’m not sure why OBS puts it there…
Press the Start Streaming button to go live!
The big moment is here.
Your scene should now be setup with something your viewers will see (a webcam, or your display), and your microphone so they can hear you.
All that’s left is to start the show.
When you’re ready to go live, all you have to do is click the Start Streaming button in the bottom right corner (you’ll click the same button to stop streaming when you are done).
Once you click it, the Live indicator will light up at the bottom.
As long as you don’t see a bunch of dropped frames at the bottom, everything should be working correctly and you are now live!
Visit your account on Twitch to see that your stream is live and perhaps share the URL to your stream to those who are interested.
Good luck!
Oh - and while you’re streaming, you’ll surely want to interact with your viewers using the Stream Chat dock window that I mentioned earlier.
This is fairly straightforward to use, but there are a handful of built-in chat commands you can use to make your life a lot easier.
I put together a fun little visual cheatsheet below that you can reference during your stream to help you remember them (and it’ll save you a few google searches.)