3 Ways To Remove Noise From Your Stream
Created by Joe PetrakovichFan noise drowning out your beautiful voice during your stream or recording? I’ve got just the thing for that!
Below are three techniques you can use to get rid of unwanted background noise during your recordings.
Oh - I also made a video version of this guide if you prefer that sorta thing…
- Set up audio monitoring so you can test your changes in real time.
- Use a Noise Gate to block everything below the loudness of your voice
- Use Noise Suppression for smart AI-driven noise removal
- Use an Equalization VST for custom surgical adjustments
Set up audio monitoring so you can test your changes in real time.
Before you start trying to get rid of background noise, you’ll want to make sure you can test your changes on-the-fly.
Otherwise you’d have to click the record button, waste space on your hard drive, find the file, and listen to it in order to test each slight adjustment - SLOW AF.
Audio monitoring in OBS will send the sound from your microphone to your headphones so you can hear what your audience will hear.
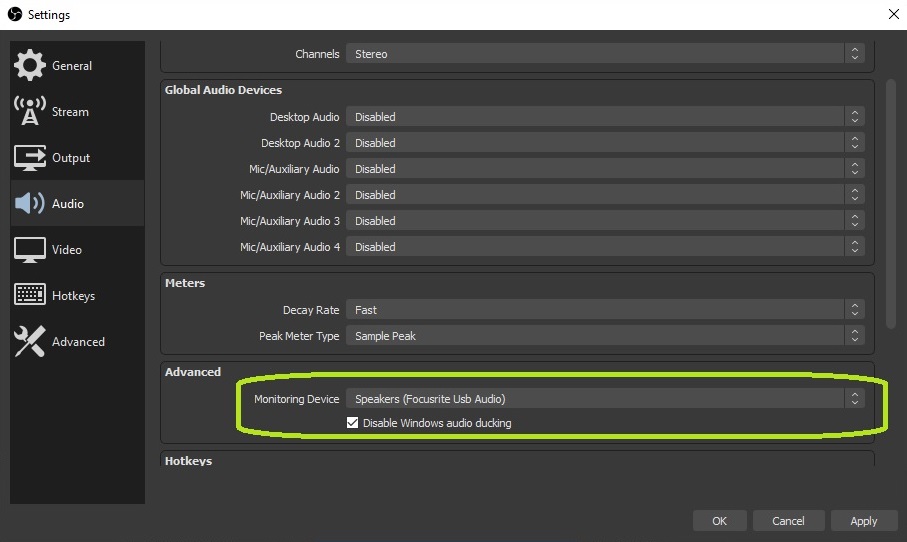
To set it up in OBS, go to Settings, then click the Audio item in the left panel, find the Advanced section, and where it says Monitoring Device, select your computer’s speakers or whichever device your headphones are plugged into.
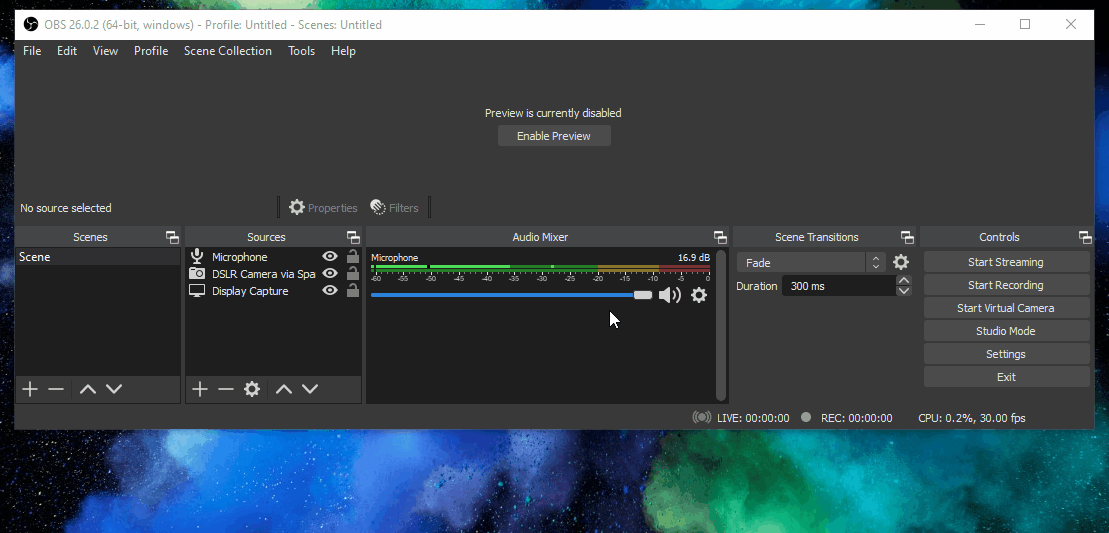
Then, back on the main OBS window, right-click anywhere inside the Audio Mixer section and select Advanced Audio Properties.
From the window that opens, in the Audio Monitoring column, change the value of the dropdown from Monitor Off to Monitor and Output for your Microphone device.
Now if you talk into your mic, you should be able to hear it in your headphones or speakers, along with the pesky background noise we’re going to eliminate in the next steps.
Use a Noise Gate to block everything below the loudness of your voice
The first technique is to apply a noise gate filter to your incoming microphone audio.
To do this - right-click your microphone device from the Sources section on the main window of OBS and select Filters from the menu.
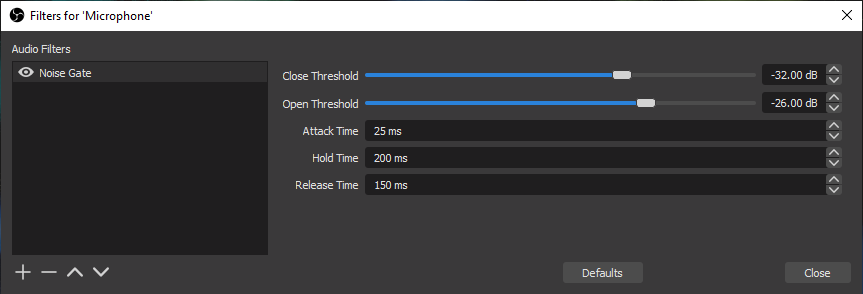
From the blank audio filters window that opens, click the plus sign (+) from the bottom left and choose Noise Gate from the menu. Give it a name, select OK, and you will likely all-of-a-sudden hear absolutely nothing in your headphones.
That’s because the noise gate filter is instantly applied to your incoming microphone audio.
You can think of the noise gate filter like a literal gate or doorway that only allows a certain level of loudness through the door.
It’s useful if you want to permanently remove constant lower volume sounds like keyboard clicking or fans, but it also can be somewhat aggressive, and may cut out some of your voice if you tend to speak quietly.
You may need to adjust the open and close thresholds to make sure it cuts out only the sounds you don’t want.
If the noise gate is cutting out too much, let’s try the next step.
Use Noise Suppression for smart AI-driven noise removal
Noise suppression is another audio filter that is a bit smarter in how it removes background noise.
It uses artificial intelligence to differentiate the foreground sound like speech from the background sounds, and tries its best to eliminate those unwanted frequencies.
All you need to do for this filter is select it from the list of filters.
Again, right-click your microphone device from the Sources section on the main window of OBS and select Filters from the menu.
From the blank audio filters window that opens, click the plus sign (+) from the bottom left and choose Noise Suppression from the menu. Give it a name, select OK, and once again, you’ll likely notice the background noise is eliminated.
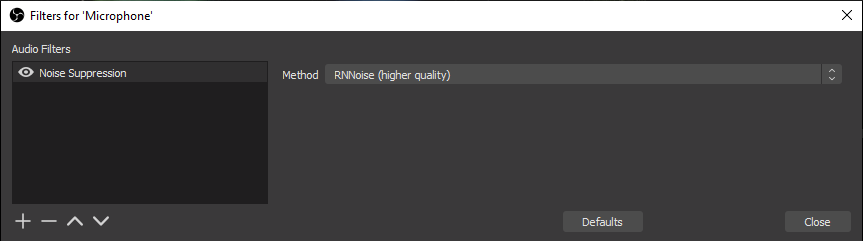
The noise suppression filter is my go-to for fan noise, as it does a really good job at cutting that out without over-doing it like the noise gate.
If you have noises that are still making it through both the noise gate and noise suppression filters, I have one more technique that may help.
Use an Equalization VST for custom surgical adjustments
VST plug-ins are separate applications that modify audio. If you listen to any kind of electronic music, music producers use VSTs to make all those glitchy sounds.
I was delighted to find that OBS allows you to connect VSTs to your incoming audio.
For this technique, you’ll use a free equalization VST called MEqualizer to manually adjust the different frequencies coming through your mic. You’ll be able to both reduce unwanted noises, as well as boost the parts of your audio you’d like to emphasize.
Download and install MEqualizer
To get the MEqualizer VST, you’ll have to download and install a free bundle from Melda Productions.
First, go to https://www.meldaproduction.com/MEqualizer, click the Get it with MXFreeFXBundle button, select the Free Download button on the next page, and then choose the latest version for your platform.
Once downloaded, run the installer, leaving most of the default values set.
Uncheck the VST3 Plugins, AAX Plugins, and MSoundFactory Instruments - we only need the regular VST Plugins.
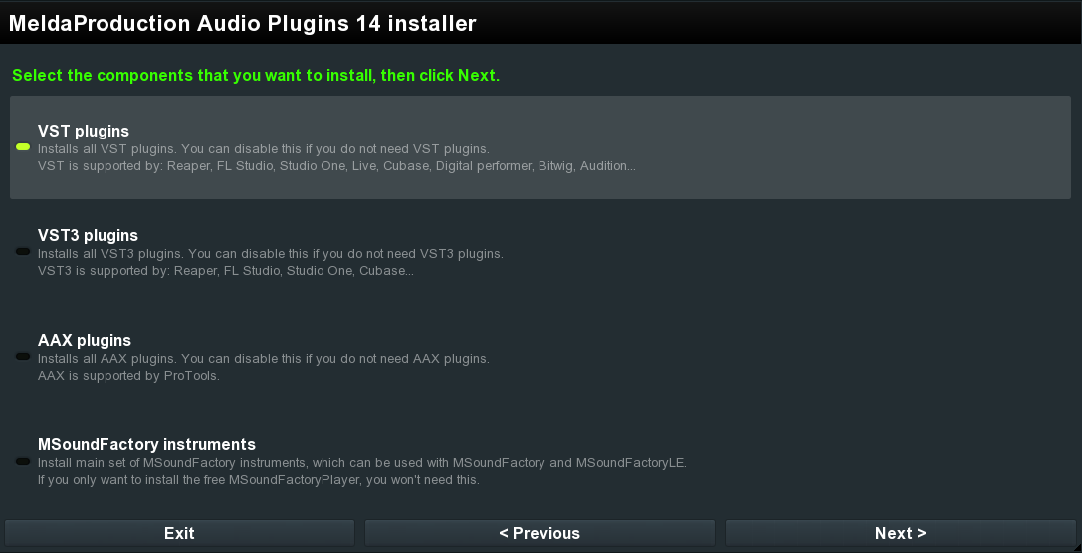
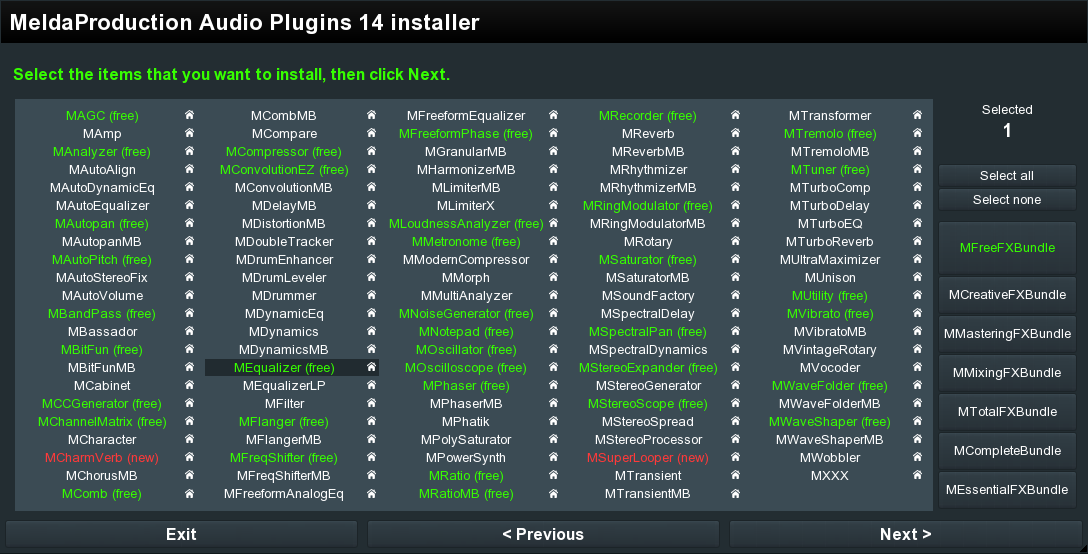
On the next page you can also uncheck the extra VSTs that come with it - we only need MEqualizer.
Add and adjust the equalizer VST
Now you can go back to OBS, right-click your microphone device from the Sources section on the main window of OBS and select Filters from the menu.
From the blank audio filters window that opens, click the plus sign (+) from the bottom left and choose VST 2.x Plug-in from the menu. Give it a name, select OK, and then choose MEqualizer from the VST 2.x Plug-in dropdown menu.
Finally, click the Open Plug-in Interface button to open the VST so you can make adjustments.
From here, you’ll see a dancing chart that represents the frequencies of sound coming from your microphone. It reads from left to right, with the low frequencies on the left side and the high frequencies on the right.
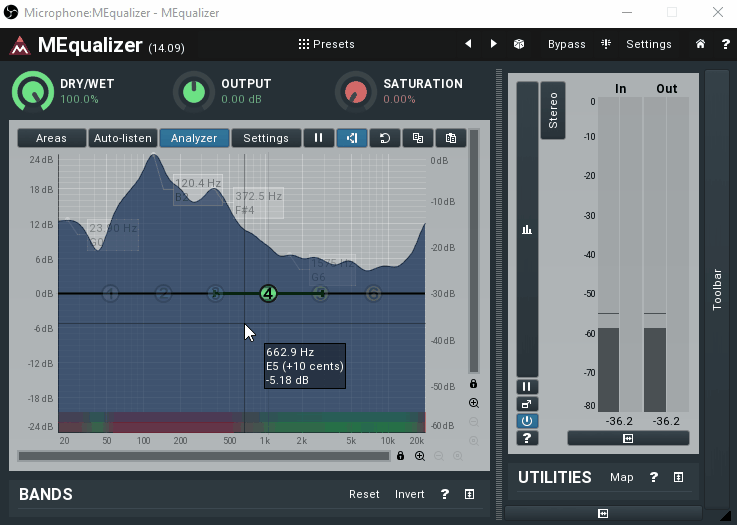
To make adjustments, double-click on the partially transparent numbers along the horizontal center line of the chart and then click and drag down to decrease the frequency or drag up to boost it.
It may take some trial-and-error to figure out what you need to reduce or boost, but this should let you be a bit more surgical in your adjustment.
The fan noise in my apartment required me to reduce bands 4 and 5, but it could be different for you depending on the type of noise you are trying to remove.
Good luck! Give each of these techniques a try and see what works. You can even chain them together if you need to.
If you found this guide helpful, please give it a share using this link!